
When I was going through my daily dose o 3D printing news I stumbled upon a beautiful 3D printed ship. I continued reading the article about it and much to my delight it was printed on Prusa i3.
I thought it would be awesome to contact the makers and get some tips and tricks how to produce such amazing prints.
The man behind the print is Rick Nidata and you can see more of his work at www.syntek.ca.
So Rick, tell us something about what are you doing?
My company Syntek (syntek.ca) has been creating high quality scale models and prototypes in all areas of industry including aerospace and defense, since 1985.
Our models can be static or animated depending on what is the best way to present our client’s product.
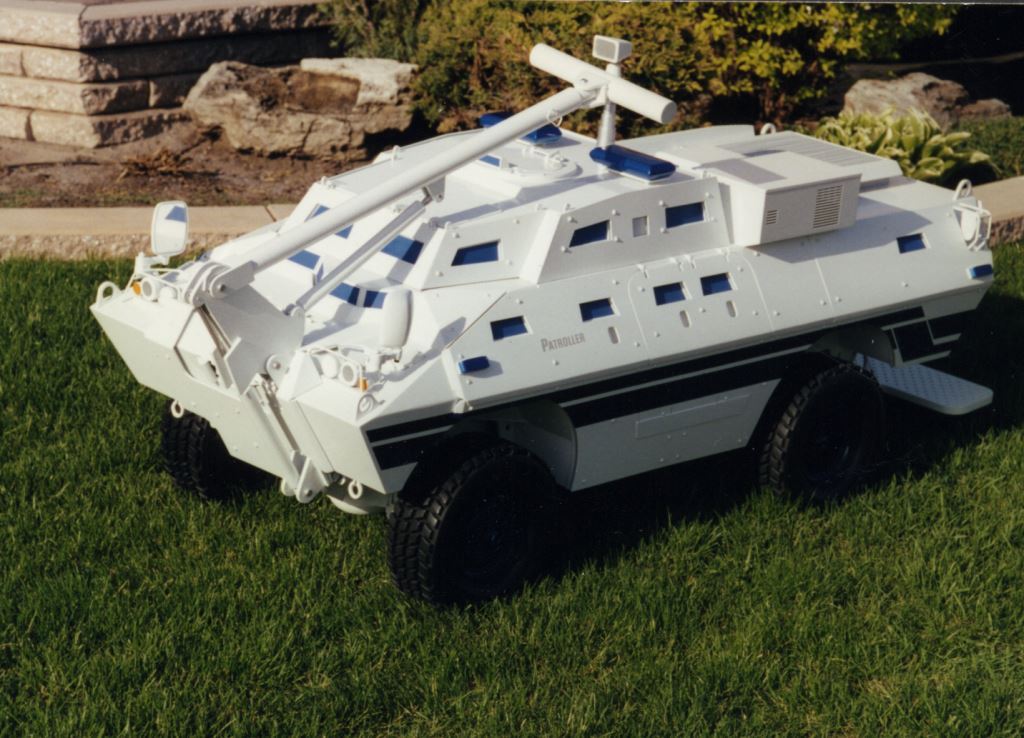
Patroller vehicle / Rick Nidata / Syntek.ca
You’ve been making models and prototypes for quite a long time, what were the milestones in technology during your career?
When I first started making models, computers were just becoming affordable and having a fax machine was a really big thing.
All parts of our models were made by hand and using manually operated lathe and milling machines.
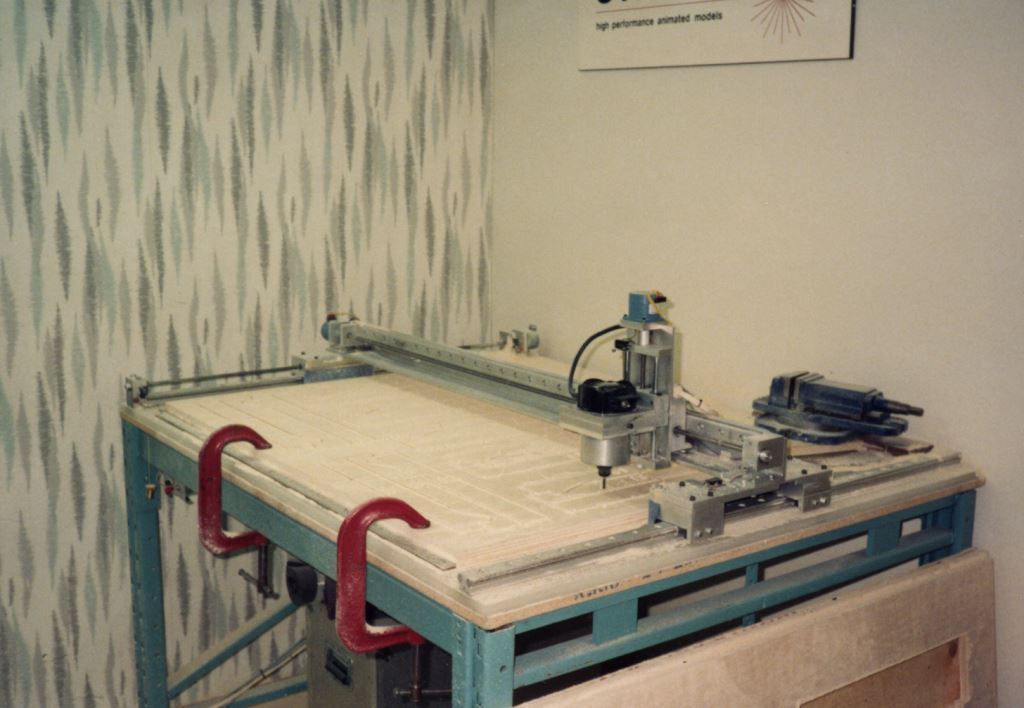
Custom 3axis engraver / Rick Nidata / Syntek.ca
As time has moved on, we have continually tried to keep up with evolving technologies.
Our first advancement was being able to use CAD programs to design components. In the early days all drawings supplied to us were on paper. To scale a drawing, we would photocopy the drawing to the appropriate scale and then glue the scaled photocopies on to the material to be cut.
Next we designed and made our own 3 axis engraver cutting machine. Now we could design the part on a 12mhz. computer with 1 mb of memory and directly make the parts. This gave a tremendous improvement in precision and gave us a real advantage over our competition.
Keep in mind that the internet did not exist at that time and all of materials and components had to be found using the telephone and with catalogs. In 1988, one 53 oz. stepper motor and driver cost over $300.00 U.S. (Josef : WOW, nowadays you can build a whole Prusa i3 with $300!)
In the last few years we have upgraded our technology with the addition 3d design, a laser cutting machine and of course several 3d printers.
When did you find out about 3D printing?
In the mid 1980’s, A research center in Montreal had a presentation of new technologies and the main focus was on a filament based 3d printer. Everyone was very impressed with the machine until they heard that the price started in the $100,000 and up range.
Since that time, I had it in my mind to be able to add 3d Printing to my business.
Several years ago I decided to make my own extruder type 3d printer.
At that point in time the only available printers were commercial machines that were still very expensive and had small build areas.
Since no plans, software or electronics were available, we started building the machine from scratch and luckily for us, as we progressed, software and electronics were slowly becoming available. This made our job a lot easier and after many upgrades, we had our first machine.
Did you build your Prusa i3 yourself or got fully assembled one?
I buy my plastic and supplies from Voxel Factory. One day I was visiting there and they had a Prusa I3 machine printing beautiful parts. I bought all of the electronics and most of the mechanical parts from them. (Voxel also has courses to assemble your own machine)
I printed all of the parts on my first machine and a couple of days later I had my first I3 machine.
I have been extremely happy with my I3 machines and have printed parts with them that I would have had trouble making using other processes.
Do you have some tips for people trying to get a 3D printer?
In my opinion, the price and “look” of a machine does not necessarily mean that you will get the best prints. I have seen some very beautiful and clean printers that produce lesser quality prints.
The rigidity and calibration of any machine is extremely important.
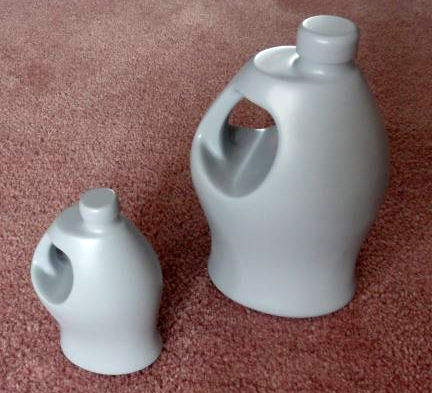
3D printed bottles after finishing / Rick Nidata / Syntek.ca
And last one, we want to know your tips and tricks how to post process you 3D prints to get such a beautiful finished product?!
If you start with a poor quality print, you will spend a lot of time refining. Everyone seems to want to print as fast as their machine can go and often sacrifice print quality. I prefer to print at a slower speed to get a smoother part than spending my time sanding and filling a rough part.
Generally, most parts that we print just need a little cleaning up before finishing.
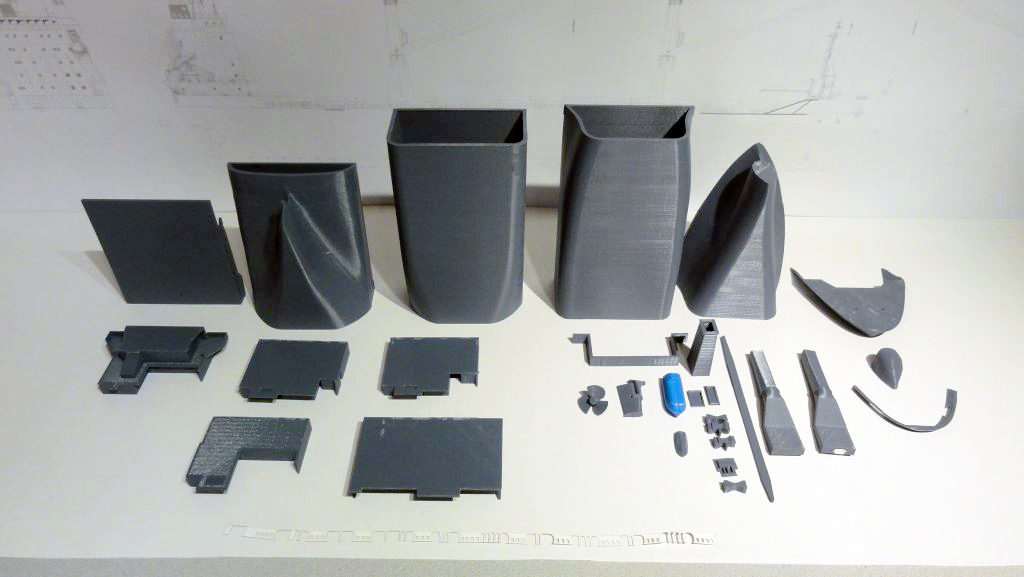
3D printed ship parts Patroller vehicle / Rick Nidata / Syntek.ca
hi
its very usefull thank u sir. i want to know one thing that CURA best software for printing?
Great interview.
Thanks for this interesting interview and such contests. I’m glad to be a member of your community and have learned a lot from your posts. In the near future I plan to devote myself to work as a 3D designer, I have even already sent out my resume with the help of https://resumeedge.com/ several large employers and I am looking forward to the interview. Thanks again for the information, I will follow the updates.